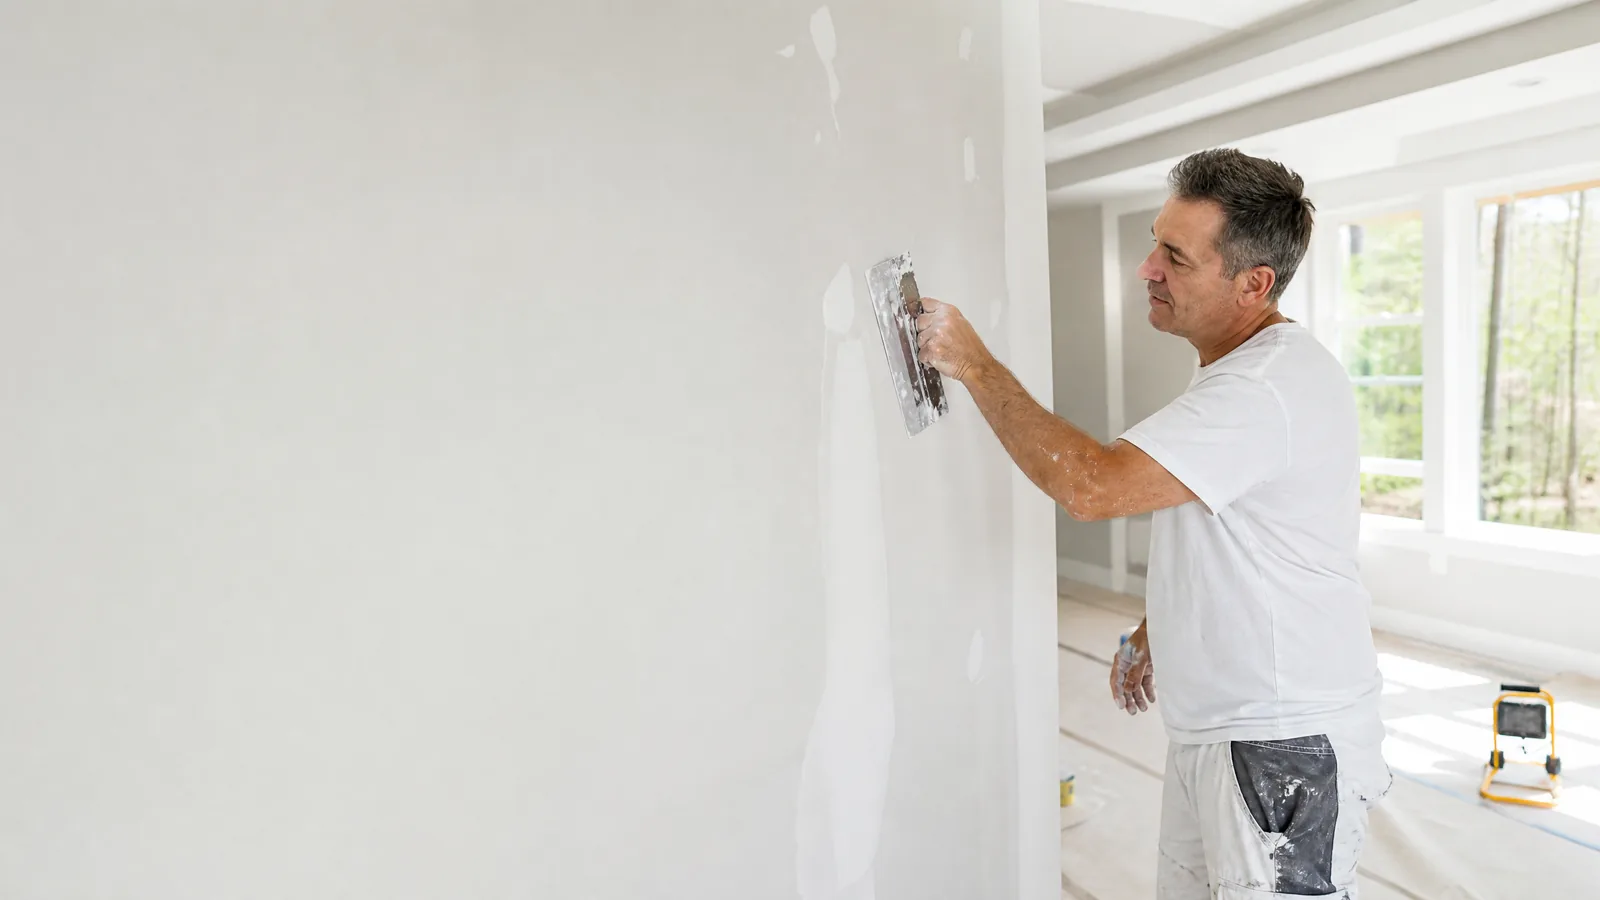
A finished wall can make a renovation feel complete, but the quality of the surface is built through several quiet steps. Drywall hanging, joint treatment, texture matching, and final sanding all affect how the room looks once paint and light reveal every line.
Identify the type and extent of the issue
Small dents and nail pops may call for a focused repair, while cracks, water staining, soft areas, or broad unevenness can point to a larger issue. If moisture is present, the source should be understood before the surface is repaired.
Match the finish to the room
Smooth walls, orange peel, knockdown, and other textures each reflect light differently. A repair can stand out if the new texture does not blend with the surrounding wall, so matching matters as much as filling the damaged area.
Plan for a paint-ready result
A wall is ready for paint when seams, fasteners, corners, and patches have been finished with the needed level of care. Good preparation gives paint a smooth foundation and helps the final room feel cohesive.
Quick planning checklist
- Note cracks, stains, soft spots, and areas where texture differs.
- Address active moisture concerns before closing or patching a wall.
- Determine whether the surrounding wall is smooth or textured.
- Discuss the desired paint-ready finish level before work begins.